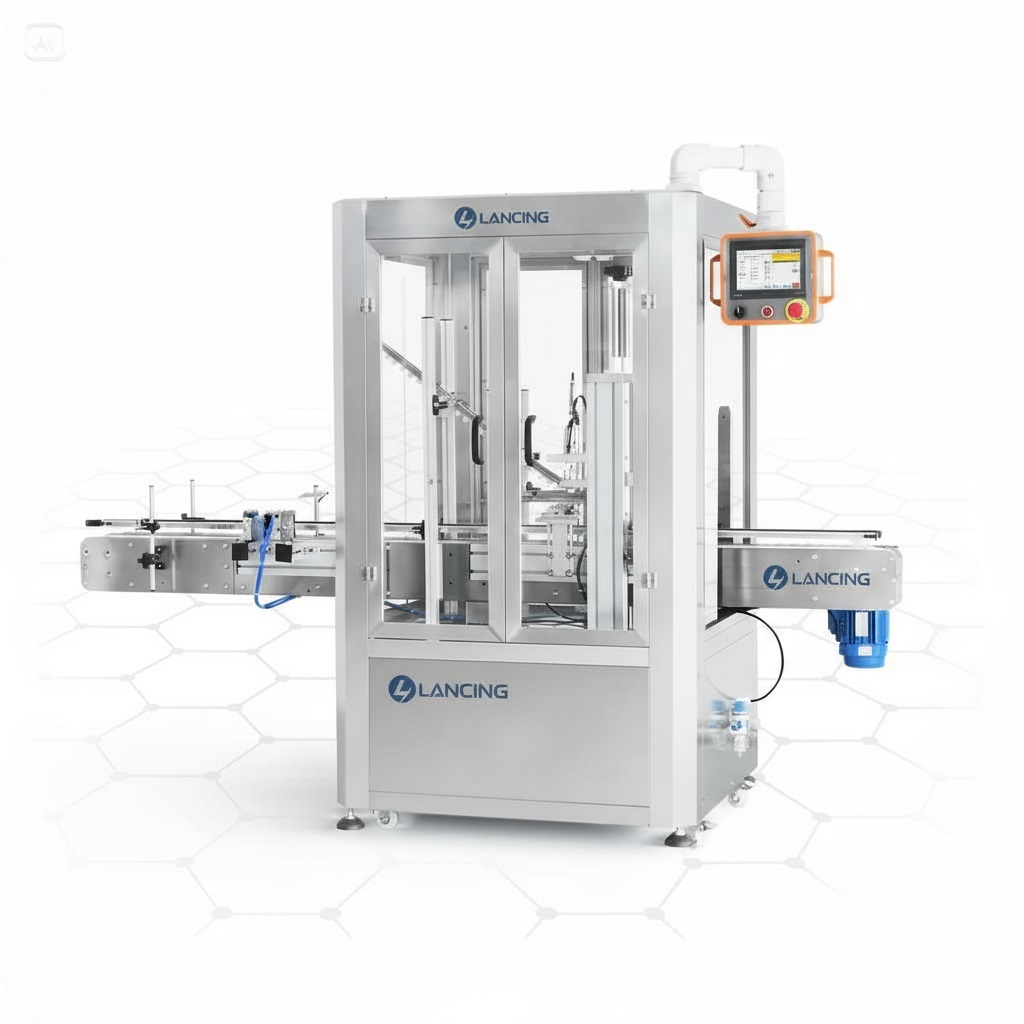
Automatic twist-off cap application
Feed and apply compatible metal lug lids as part of a defined jar sealing process.
Explore this option
Vacuum is an outcome of the complete jar, lid, product and closing process. Compare the available routes only after defining product temperature, headspace, liner and finished-pack acceptance.
Start with real samples. Your jar, lid and target output provide a more reliable recommendation than choosing by model number alone.
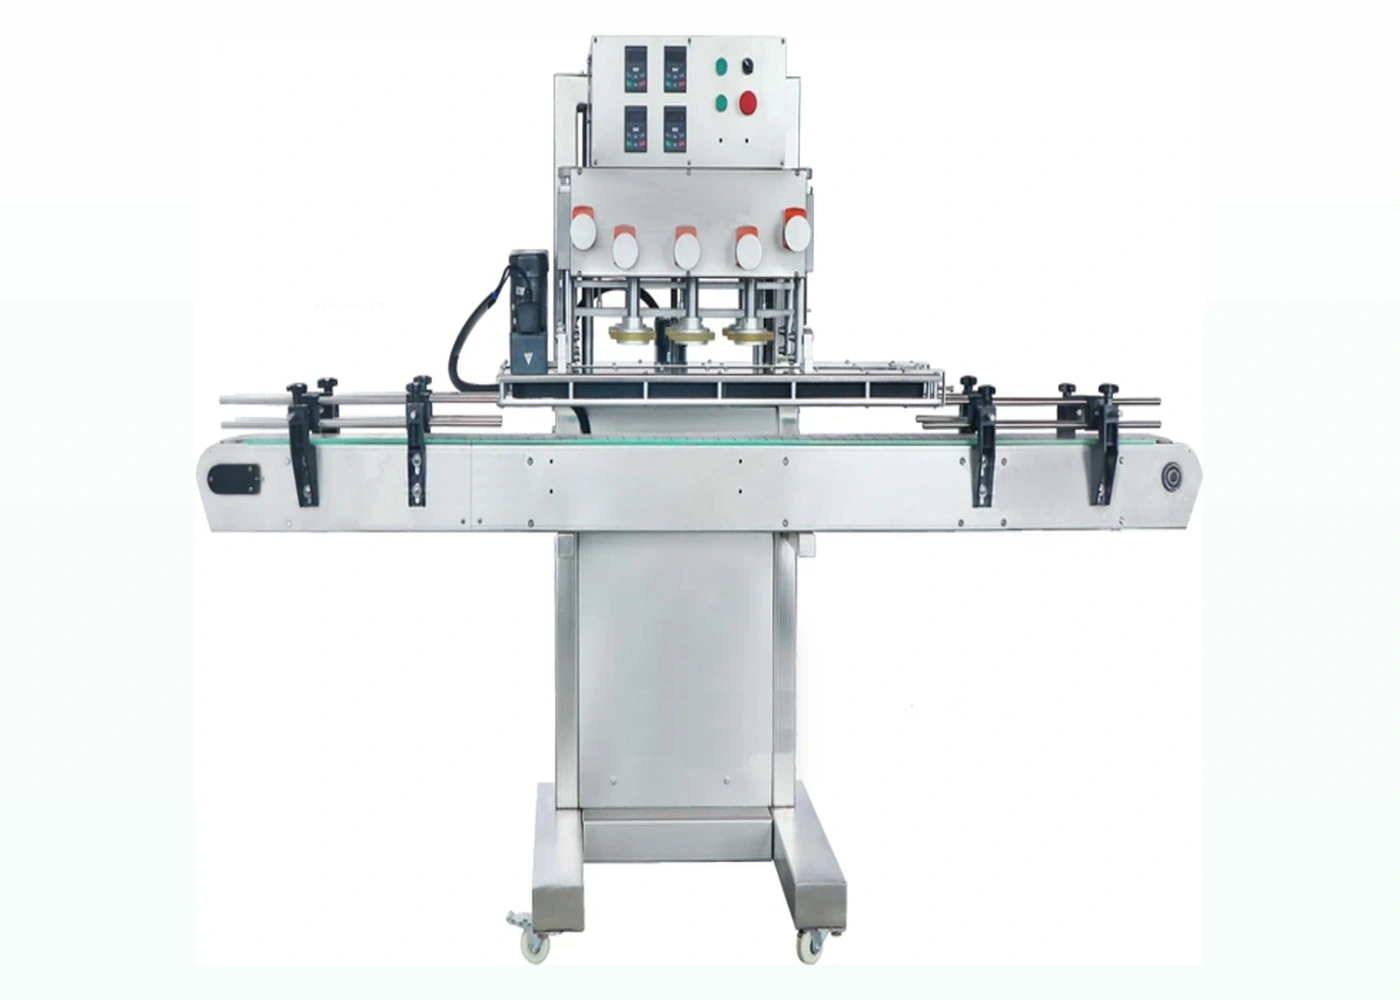
Different products and production scales may use hot-fill cooling, steam flow, mechanical evacuation or another validated method before or during twist-off closing.
Feed and apply compatible metal lug lids as part of a defined jar sealing process.
Explore this option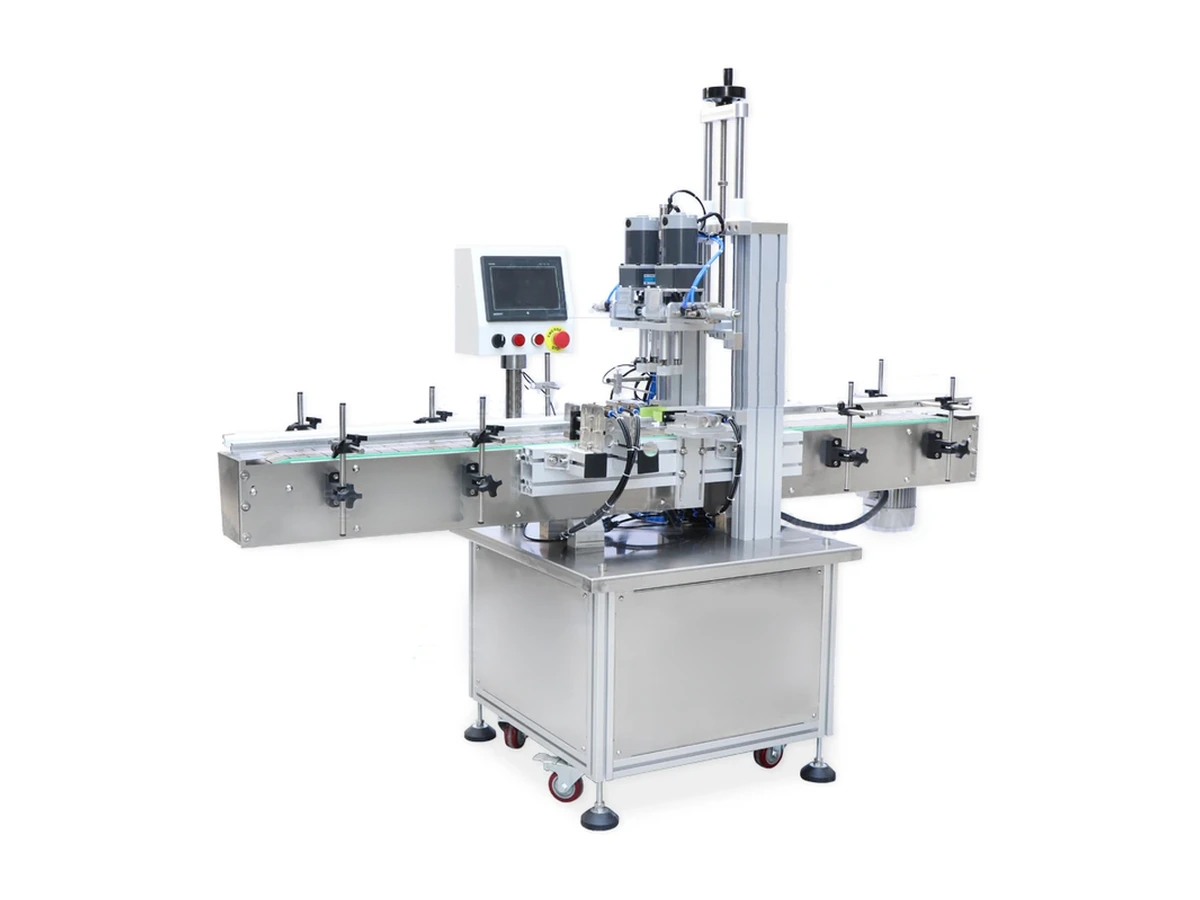
Account for hot product, headspace, cooling and cap-button behaviour in preserve packing.
Explore this option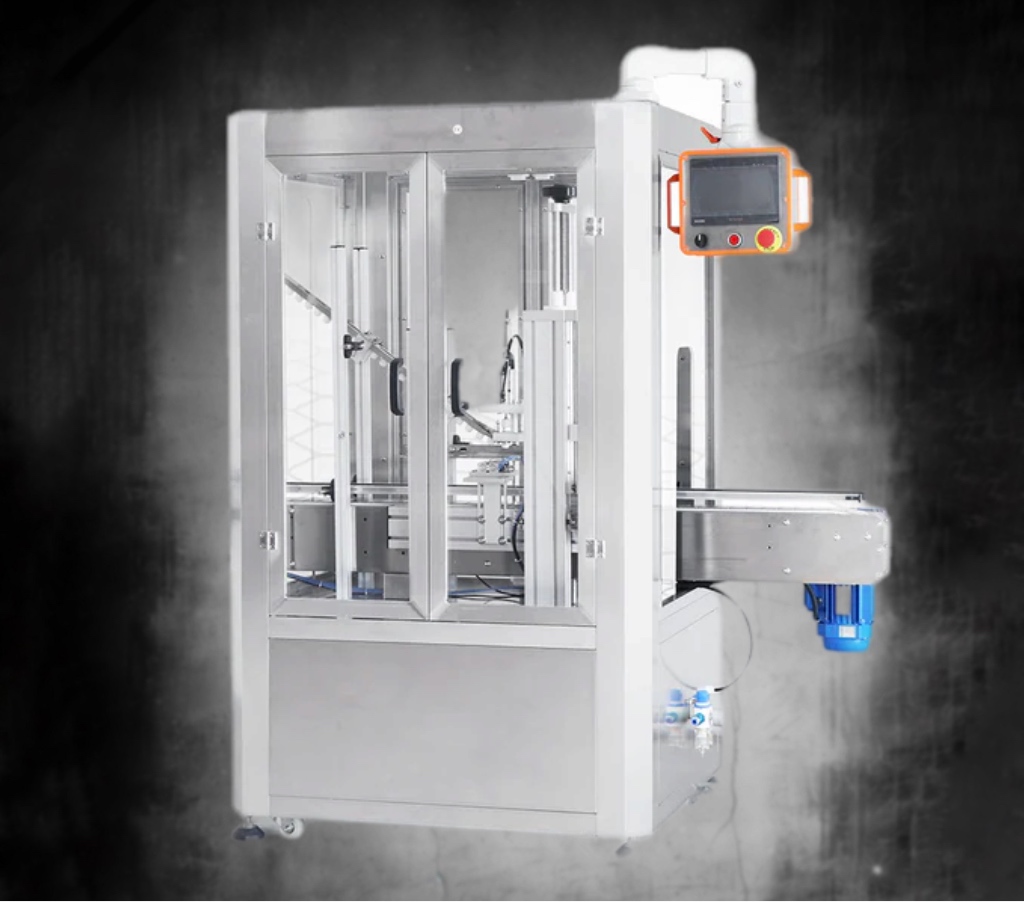
Investigate cap height, finish contamination, torque, vacuum variation and post-process handling.
Explore this optionVacuum can change as the jar cools and the product settles. A useful specification states the measurement method, timing, temperature and acceptable range.
| Question | Why it matters | What to provide |
|---|---|---|
| Where does vacuum come from? | The answer determines whether temperature, steam or mechanical evacuation must be controlled. | Current process description and target vacuum. |
| When is vacuum tested? | A hot jar may show a different reading after cooling. | Test timing, product temperature and instrument. |
| How is the finish kept clean? | Residue can interrupt liner contact and create intermittent leaks. | Filling accuracy, drip control and finish-cleaning method. |
| What is rejected? | The line needs clear criteria and a response to marginal packs. | Vacuum limits, button state, leaks, cap height and visual faults. |
Vacuum capping equipment should be integrated with a validated thermal and packaging process. Machinery selection alone does not establish product safety or shelf life.
Indicative dimensions and speeds are screening information, not an acceptance test.
Cooling can create vacuum in a compatible pack, but the product process, jar, lid, temperature, headspace and closure application must all be validated.
Steam is used around the headspace and closure area so condensing steam can help form vacuum after the lid is applied; suitability depends on the product and line design.
Yes, using a suitable inspection method, but the measurement point and acceptable limits should be defined by the packer's quality process.
Record the instrument, units, calibration status, jar temperature, elapsed time after capping, headspace, product condition and sampling location. A reading taken immediately after hot filling cannot be compared directly with a reading after the pack has cooled unless the approved method defines that comparison.
The cap button can be a useful visual indicator, but it does not explain why a pack is marginal. Use it alongside the process owner’s specified vacuum, leak, cap-height, lug-engagement and visual checks.
Check fill level, headspace, product temperature, cooling profile and any steam or mechanical evacuation settings before changing the capping head.
Compare jar-finish condition, lid liner, lug geometry and component batches. A failed component can appear as an intermittent machine fault.
Review cap placement, lid engagement, cap height and failed-pack teardown. Change one controlled factor at a time and retain the before-and-after samples.
A single low result does not identify the cause. Compare groups of packs made with known jar and lid batches, the same product condition and a fixed measurement method. The pattern can then direct the next check without assuming that every vacuum failure originates at the capping head.
| Observed pattern | Next evidence to compare | Avoid assuming |
|---|---|---|
| Most packs are consistently below the approved result | Fill condition, headspace, air-displacement method, closure application and measurement timing. | That increasing one machine setting will correct a process-level shortfall. |
| Results vary widely within one run | Jar/lid batches, fill variation, finish cleanliness, lid engagement, cooling and instrument repeatability. | That the average result represents an acceptable process. |
| Variation follows one component batch | Finish or lug geometry, liner condition, lid storage and dimensional data. | That a machine change should compensate for unapproved component variation. |
| The result changes with elapsed time | Cooling or conditioning profile and the exact time between closing and measurement. | That readings taken at different times can be compared directly. |
| Button state and measured result disagree | Closure specification, button inspection method, gauge method and leak/integrity evidence. | That button appearance alone proves the complete seal requirement. |
| A small group leaks despite similar vacuum readings | Finish damage, liner contact, contamination, cap position and destructive teardown. | That one measurement detects every integrity failure mode. |
Vacuum data becomes useful when another person can repeat the method on the same type of pack. The record should identify the jar, lid, liner and component batches; product and fill condition; headspace or fill-level method; closing route; cooling or conditioning period; measurement instrument; test location; and whether the pack was opened or otherwise altered before further checks.
Use the vacuum-check workflow · Combine vacuum with integrity evidence · Define the sample-trial plan
The hot-fill process guide, closure compatibility guide and procurement specification guide turn this evidence chain into a project requirement.
A vacuum value is meaningful only when the mechanism that creates it, the point of measurement and the condition of the finished pack are all defined.
Machine-created vacuum is applied during the closing operation, while cooling vacuum develops as a hot-filled, closed pack cools and the headspace pressure falls.
Some projects use a dedicated vacuum chamber; others rely on a validated hot-fill or steam-flow process. The machinery enquiry must state which mechanism is expected because the equipment, process controls and test timing are different.
Steam-flow capping may be unsuitable when the product, closure, container, environment or validated process cannot tolerate the required steam exposure or condensation.
The decision also depends on available utilities, extraction, cleaning, line control and the way the customer validates the finished pack. A dry-vacuum route may be considered, but only after trials with the actual jar, lid and product conditions.
Yes. A vacuum reading describes pressure at a particular time; it does not by itself prove correct lug engagement, liner contact, finish cleanliness or freedom from damage.
Pair the reading with visual inspection, closure position, leak or integrity checks and the customer’s process records. Also record instrument, puncture point, pack temperature and elapsed time so results are comparable.
Record the jar and lid identity, product and fill condition, capping time, cooling state, test time, instrument, reading and visible closure condition.
Where relevant, include button state, lug engagement, leaks, damaged finishes and any sample rejected before measurement. This creates a traceable result and helps separate random pack variation from a repeatable machine or process fault.
Describe the closure, product, fill temperature and headspace, how vacuum is intended to be created, when it will be measured, the instrument used and the customer-approved acceptance range.
Send your jar and lid detailsVacuum performance is influenced by the complete jar, lid, headspace, temperature and closing route. A robust production plan states which machine/process conditions are monitored continuously, which packs are screened inline and which measurements are taken on a controlled sample.
Record the settings and conditions that create the approved process, together with jar and lid identity. Alarms should show when a required condition is absent, but an alarm state is not itself a finished-pack measurement.
Presence, cap height, alignment or button/profile checks may identify obvious failures when validated for the approved pack and process point. Condensation, reflections and component variation must be included in trials.
Use the pack owner’s approved vacuum, leak or integrity method at the stated time and temperature. Retain enough samples to investigate drift, marginal readings and component batches.
| Condition | Immediate line response | Quality follow-up |
|---|---|---|
| Required process condition unavailable | Prevent production entering an unverified closing state or contain the affected time window. | Identify all potentially affected jars and apply the approved disposition. |
| Button/profile inspection fail | Reject or hold the tracked jar and confirm physical segregation. | Check vacuum and process evidence on retained good and failed packs. |
| Sample vacuum trend changes | Follow the agreed reaction plan; avoid repeated unrecorded machine adjustment. | Review component batch, product condition, headspace, cooling and measurement method. |
| Inspection system fault | Enter the defined fail-safe state rather than accepting uninspected output. | Reconcile the affected production and document restart checks. |
Plan inline screening and rejection · Separate torque and vacuum evidence
State when the pack is expected to have reached its accepted vacuum condition and provide known good, marginal and failed examples from that point.
Review the vacuum processSend your jar, lid, product and target output. Lancing will help you identify a practical machine route and the samples needed for confirmation.