Torque or removal force
A shift in the distribution may indicate tooling condition, contamination, cap variation, jar control or measurement-timing changes.

Reliable capping depends on clean contact surfaces, controlled change parts, verified settings and early detection of wear. Maintenance frequency must follow the supplied machine information, usage, environment and site risk assessment rather than a generic timetable.
Use production evidence. Final machine selection and acceptance depend on representative jars, lids, process conditions and agreed checks.
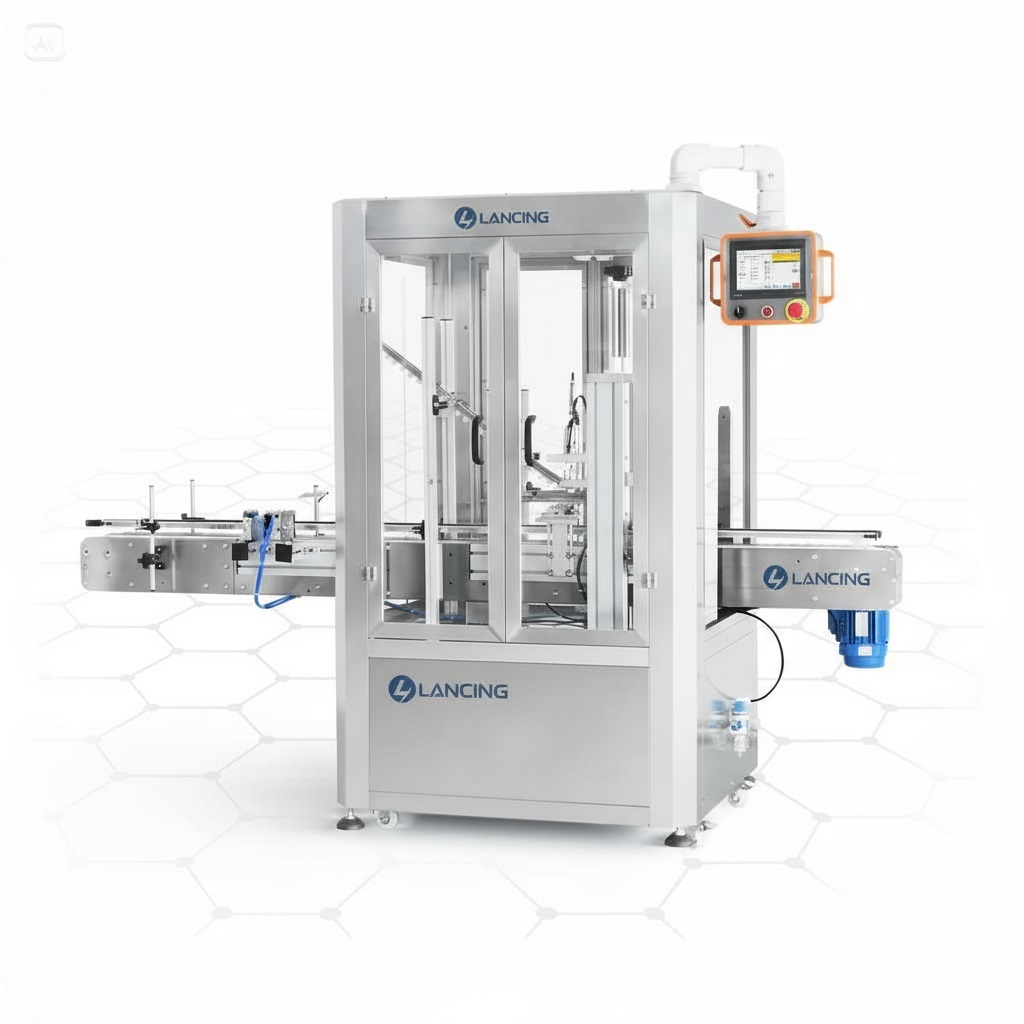
Use the manufacturer’s instructions as the primary maintenance source. Build the site routine around actual operating hours, cleaning exposure, product residue, changeover frequency and observed wear.
| Area | What to observe | Why it matters |
|---|---|---|
| Jar guides and belts | Contamination, glazing, cuts, alignment, tension and contact marks. | Poor control can cause spin, tip, scuffing or inconsistent lid engagement. |
| Capping tooling | Wear, contamination, damage, runout, grip condition and secure installation. | Tool condition influences torque transfer, cap marking and repeatability. |
| Sensors and stops | Clean lens or target, secure position, repeatable switching and protected cable routes. | False detection can create spacing faults, missed caps or unnecessary stops. |
| Conveyor and transfers | Tracking, chain or belt condition, guide alignment, dead plates and accumulation behaviour. | The capper cannot remain stable if jars arrive touching, leaning or surging. |
| Pneumatic or driven devices | Leaks, abnormal noise, heat, slow movement and pressure or drive status specified for the machine. | Changing motion can appear as a capping fault before a component fails completely. |
Inspect the hopper or bowl, tooling, tracks, rails, reject devices, sensors, chute and handover point. Product dust, label debris, oil, static, damaged closures or mixed lid batches can change feeding behaviour even when machine settings have not moved.
After cleaning or changing format, verify orientation and delivery with enough closures to expose nesting, bridging and refill effects. A few hand-placed lids do not prove the bulk feed system.
A shift in the distribution may indicate tooling condition, contamination, cap variation, jar control or measurement-timing changes.
Cross-threads, tilted caps, lug damage, scuffing and height variation can point to placement, stabilisation or worn contact parts.
Separate machine setup from fill condition, headspace, finish cleanliness, closure condition, cooling and test timing before replacing components.
Use the jar-capping troubleshooting guide to structure the investigation and retain before/after samples when maintenance is performed.
Identify parts that are consumable, wear-sensitive, format-specific or critical to safe operation. The recommended list should come from the supplied machine documentation and the site’s production risk, not from a universal catalogue. Label stored change parts, protect precision surfaces and record when a spare is fitted so that removed components are not returned to stock without assessment.
Include access, cleaning, changeover, spares, documentation and training in the jar-cap machine procurement specification.
Discuss support and spare-parts scopeUse the supplied manufacturer schedule and adjust the site routine for operating hours, environment, cleaning exposure, format changes and observed condition. A universal interval would be misleading.
Use the approved setting and verify first-off samples with the agreed method. Do not change torque simply to hide poor lid start, jar instability, contamination or worn tooling.
Follow the machine and site cleaning procedures. Inspect all affected jar, lid, belt, guide, sensor and guarding areas, while protecting electrical and drive components from unsuitable cleaning methods.
Identification prevents the wrong tooling being installed, supports repeatable setup and helps distinguish worn or modified parts from the approved set.
Escalate when the fault persists after the approved cleaning and setup checks, when safety or guarding is affected, or when adjustment would move outside the documented machine method.
Send your jar, lid, product and target output. Lancing will help you identify a practical machine route and the samples needed for confirmation.