
Jar cap feeder troubleshooting: isolate bulk supply, orientation, track and handover faults.
A cap-feeding fault can appear as a capping fault when the lid reaches the jar late, tilted, inverted, damaged or uncontrolled. Diagnose the route in stages and change one verified variable at a time.
Use production evidence. Final machine selection and acceptance depend on representative jars, lids, process conditions and agreed checks.
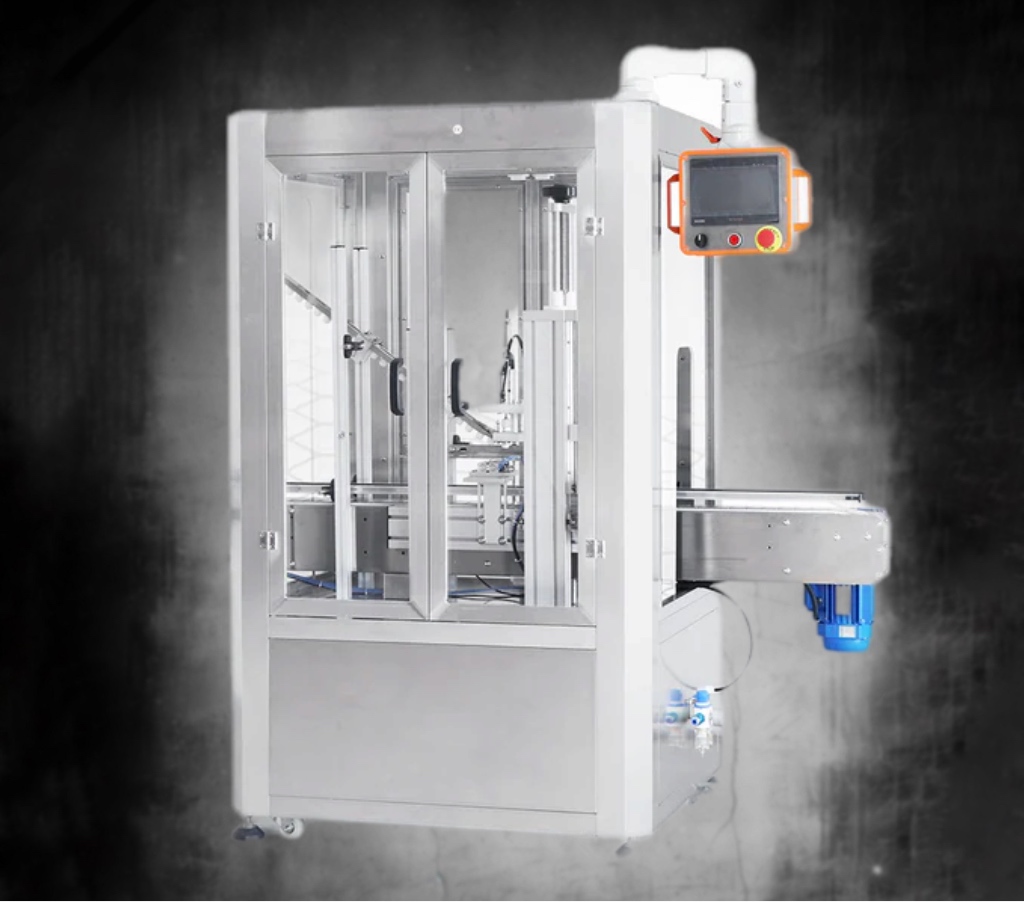
Find where control is first lost.
Observe the same closure as it moves through bulk storage, orientation, track or chute, and final placement. If the lid is already damaged or mis-oriented before it reaches the jar, changing capping torque will not solve the root cause.
- Bulk supply: check bridging, mixed components, damaged caps, overfilling, refill method and contamination.
- Orientation: check bowl or elevator tooling, reject action, correct-face identification and stability at operating level.
- Track and chute: check width, height, transitions, sensors, pressure from queued lids and free movement.
- Handover and placement: check timing, escapement, cap control, jar position and square placement before tightening.
The locally hosted cap-feeding video can help identify the stages to record when describing a fault to Lancing.
Match the symptom to the first useful checks.
| Symptom | Check first | Avoid |
|---|---|---|
| Caps bridge or stop leaving the hopper | Fill level, bulk condition, component damage, static, contamination and agitator or elevator operation. | Increasing agitation until caps mark, deform or enter the orienter uncontrollably. |
| Inverted or incorrectly oriented caps pass | Orientation tooling, reject timing, sensor position and closure variation. | Tightening the downstream track to trap the wrong cap. |
| Caps nest or shingle in the track | Closure geometry, track gap, queue pressure, transitions and mixed cap batches. | Using damaged or non-production samples as the setup reference. |
| Cosmetic scuffing or dents | Exact first contact point, rail pressure, vibratory level, sharp edges, contamination and cap coating variation. | Cleaning all evidence before retaining marked samples and location photographs. |
| Intermittent cap placement | Escapement timing, cap presence sensing, chute back pressure, jar spacing and handover control. | Compensating with capping-head adjustment when the cap is not square. |
| Fault occurs only after refill | Refill quantity, cap drop height, bulk pressure, level sensing and operator method. | Testing only with a low, stable bowl level. |
Test the feeder at the highest and lowest normal working levels.
Feeding behaviour can change with the mass of closures, queue pressure, refill disturbance and time since cleaning. Agree how lids are delivered to the operator, how much is added, whether mixed cartons are permitted and how low-level warnings are handled.
For an elevator or hopper system, observe the transfer into the orientation device. For a bowl, check whether filling obscures tooling or changes cap circulation. Record the normal refill interval as part of sustained-output testing.
Confirm the lid is square, controlled and timed to the actual jar.
The final track, chute, pick-and-place device or cap shoe must deliver the lid without bounce, premature release or collision. Verify jar spacing, height, centreline and the signal used to release the cap.
When caps are cross-threaded, first determine whether the lid was square before application. Use the closure-compatibility guide to check component fit and the main troubleshooting guide for downstream tightening faults.
Record the fault in a form that can be reproduced.
- Jar and lid part numbers, batches and photographs
- Feeder fill level and refill event
- Machine format, recipe and mechanical settings
- Video from bulk supply through to placement
- Exact frequency and whether the fault is clustered or random
- First point where orientation, position or condition becomes unacceptable
- Samples of normal and failed closures
- Cleaning, component or adjustment changes made before the fault appeared
Do not make simultaneous changes
After making the equipment safe, inspect and change one documented variable at a time. Confirm the effect over a representative run before moving to the next hypothesis.
Broader cap-feeding equipment is also covered by Lancing’s specialist cap feeder website.
Send feeder fault evidence to LancingQuestions about automatic lid-feeding fault guide.
Why does the feeder work with a few caps but fail when full?
Bulk pressure, circulation and refill disturbance can change at higher levels. Test at the normal operating range and during a production-style refill.
Can more vibration solve a bowl-feeder jam?
Not necessarily. Excess vibration can increase marking, instability or uncontrolled flow. Check tooling, track gaps, contamination and component condition before changing the approved setting.
Why are caps cross-threading after the feeder?
The lid may be tilted, released at the wrong time, unstable on the jar, incompatible with the finish or disturbed during tightening. Inspect placement before changing torque.
What video should be sent for remote diagnosis?
Show the fault from bulk supply through orientation, track, handover and jar placement, with the machine safely observed and the format, speed and refill level identified.
When is dedicated feeder tooling needed for another lid?
When the new closure cannot be reliably oriented, tracked or placed within the approved adjustment range. Production samples are needed to confirm whether settings or change parts are sufficient.
Decide whether the current feeder is mis-set or the closure needs a different handling route.
A setup fault normally appears after a known change: tooling moved, contamination built up, a sensor drifted, refill practice changed or a different component batch arrived. A route mismatch is more fundamental: the closure cannot remain stable, be distinguished by orientation tooling, pass through the track without nesting or reach the jar under control across normal variation.
Before modifying tooling, compare retained good and failed caps, confirm the exact batch and record the first point where control is lost. If the same failure remains after the approved settings and condition are restored, a different orientation or supply method may need to be trialled.
Download the jar lid feeder trial checklist and use it to separate component, refill, orientation, track and handover evidence.